
Finally, the time has come to prepare your first email campaign. Starting with a blank sheet can be quite daunting so try to find some examples of other marketing email that you have received previously to use as a guide. If you haven’t already, subscribe to the free “The Art Of Inboxing” email course to learn the tips and tricks of writing emails to avoid being tagged as spam. Otherwise, let’s proceed..
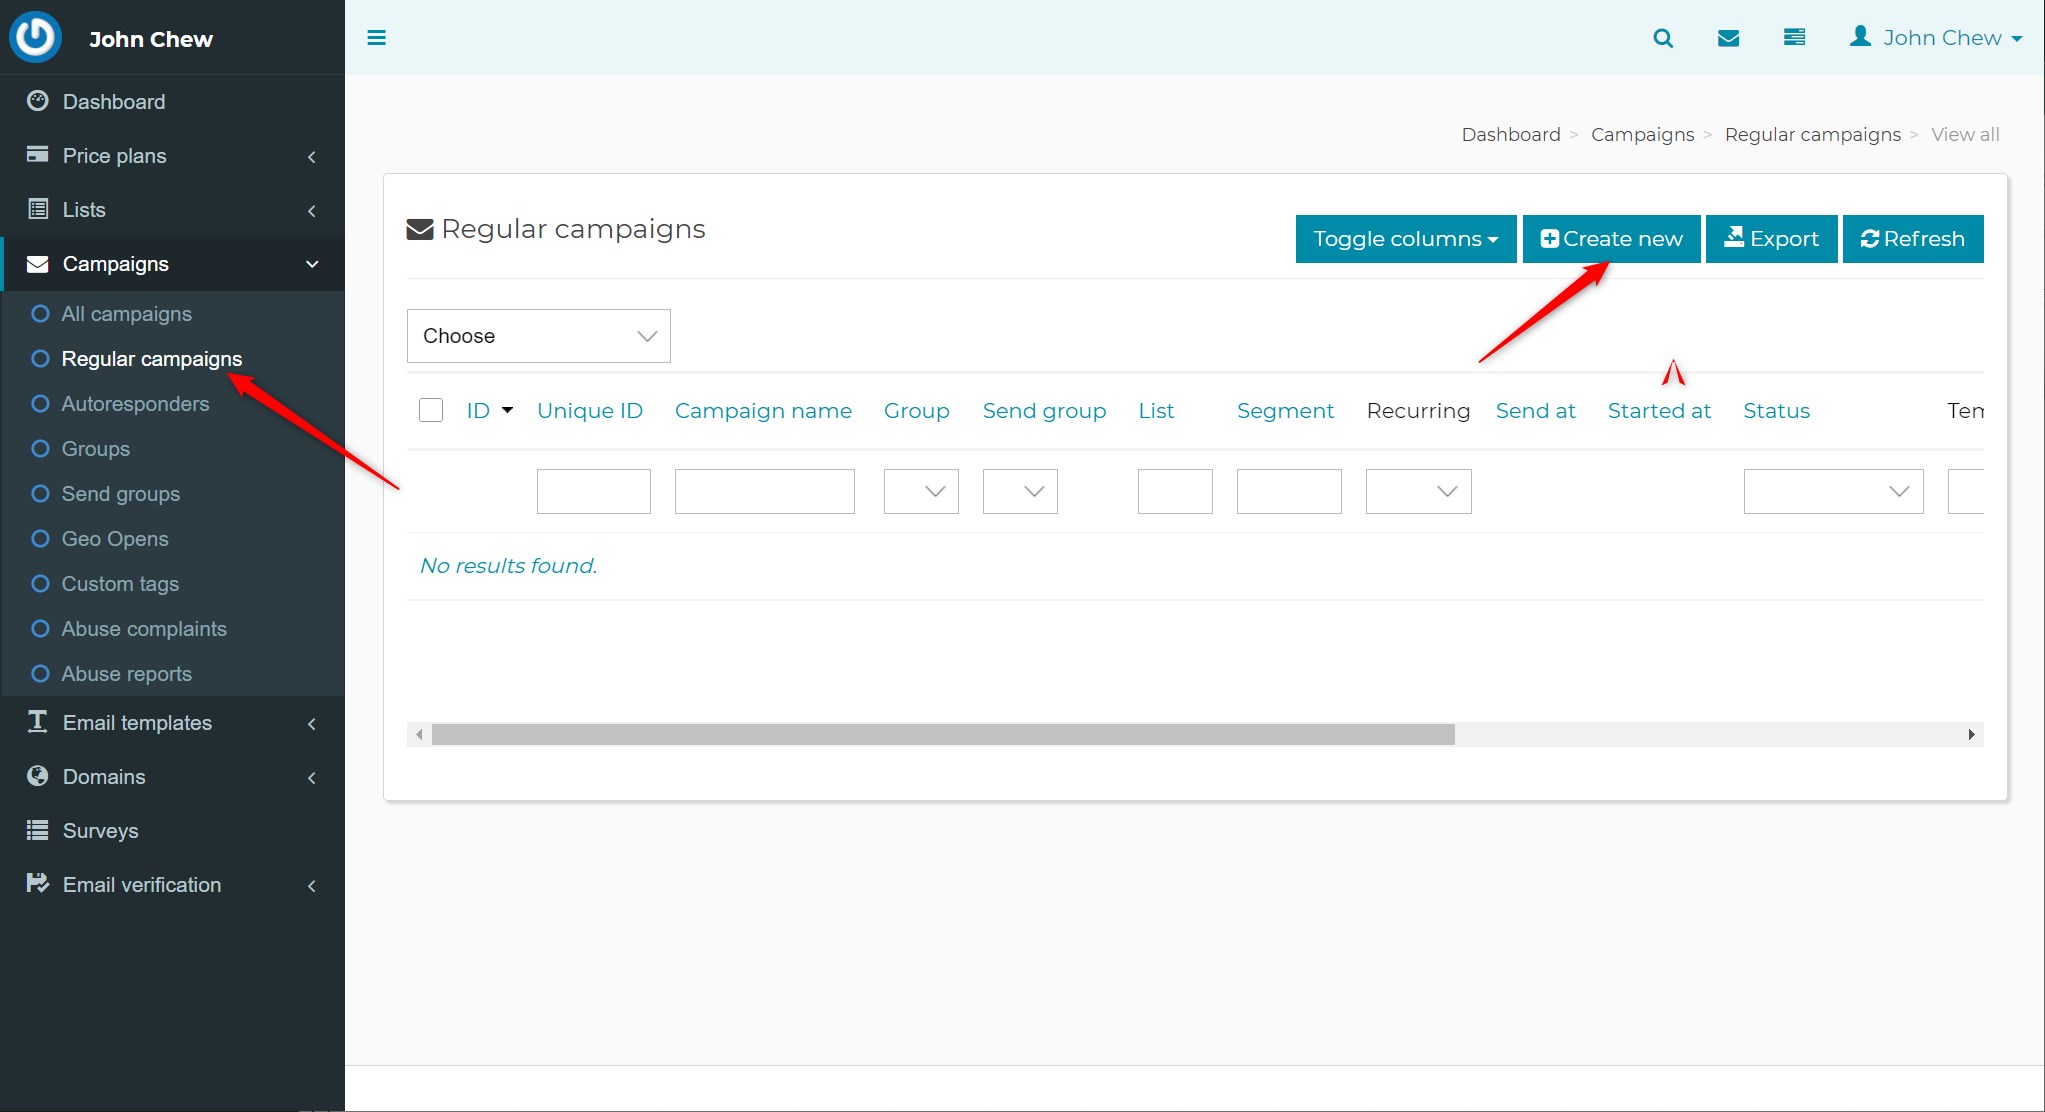
1. Click Regular Campaigns in the side menu. Then click Create new to launch the campaign wizard.
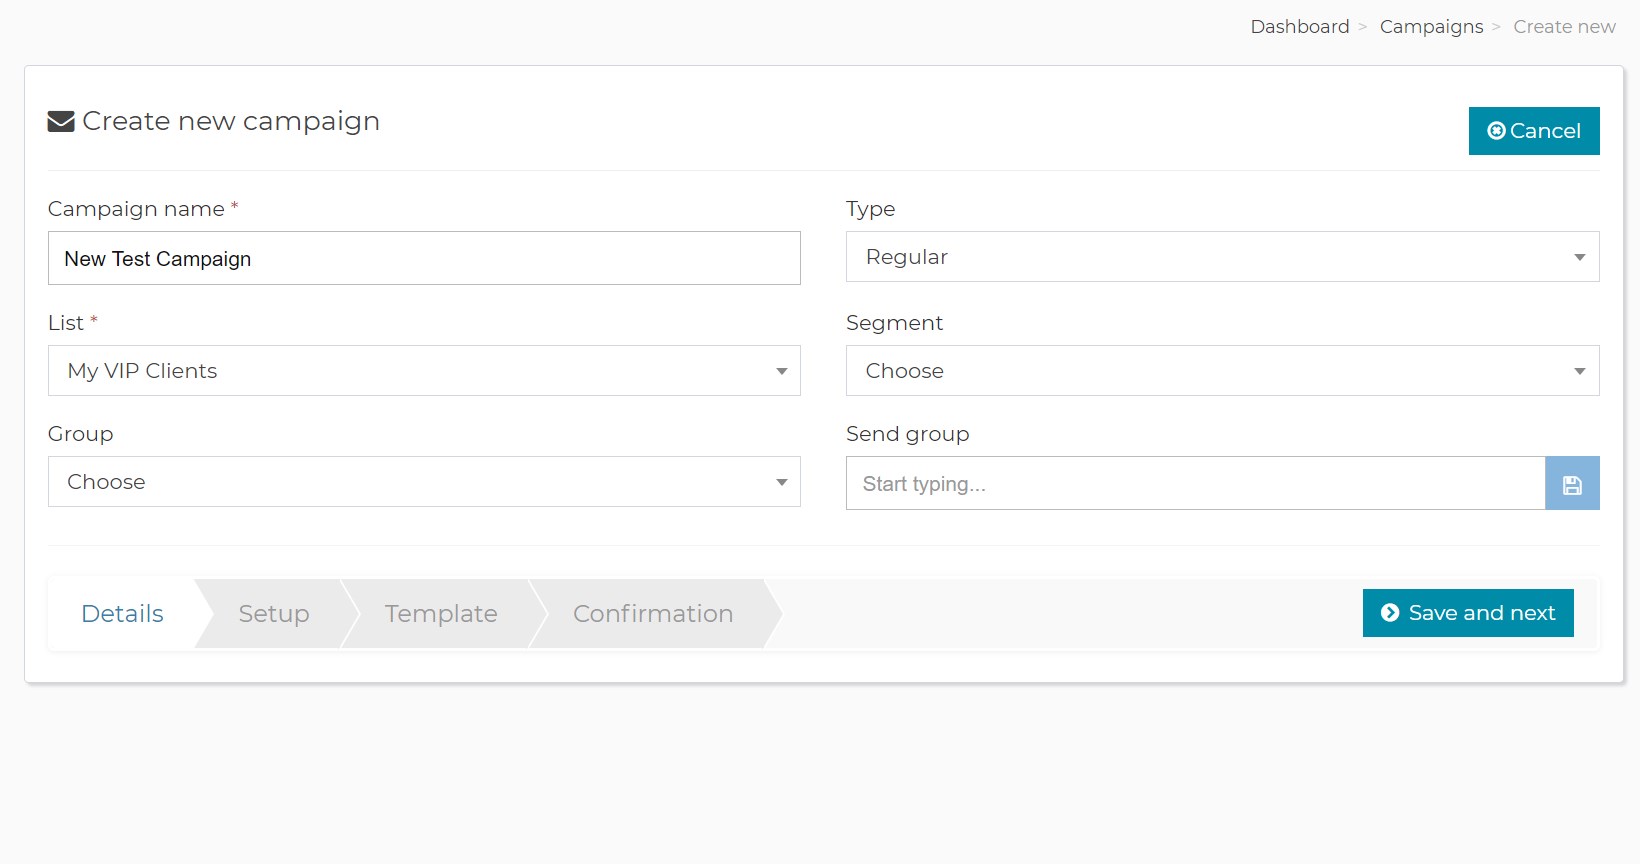
2. Enter a name for your campaign and choose the email list for your campaign. Save and next.
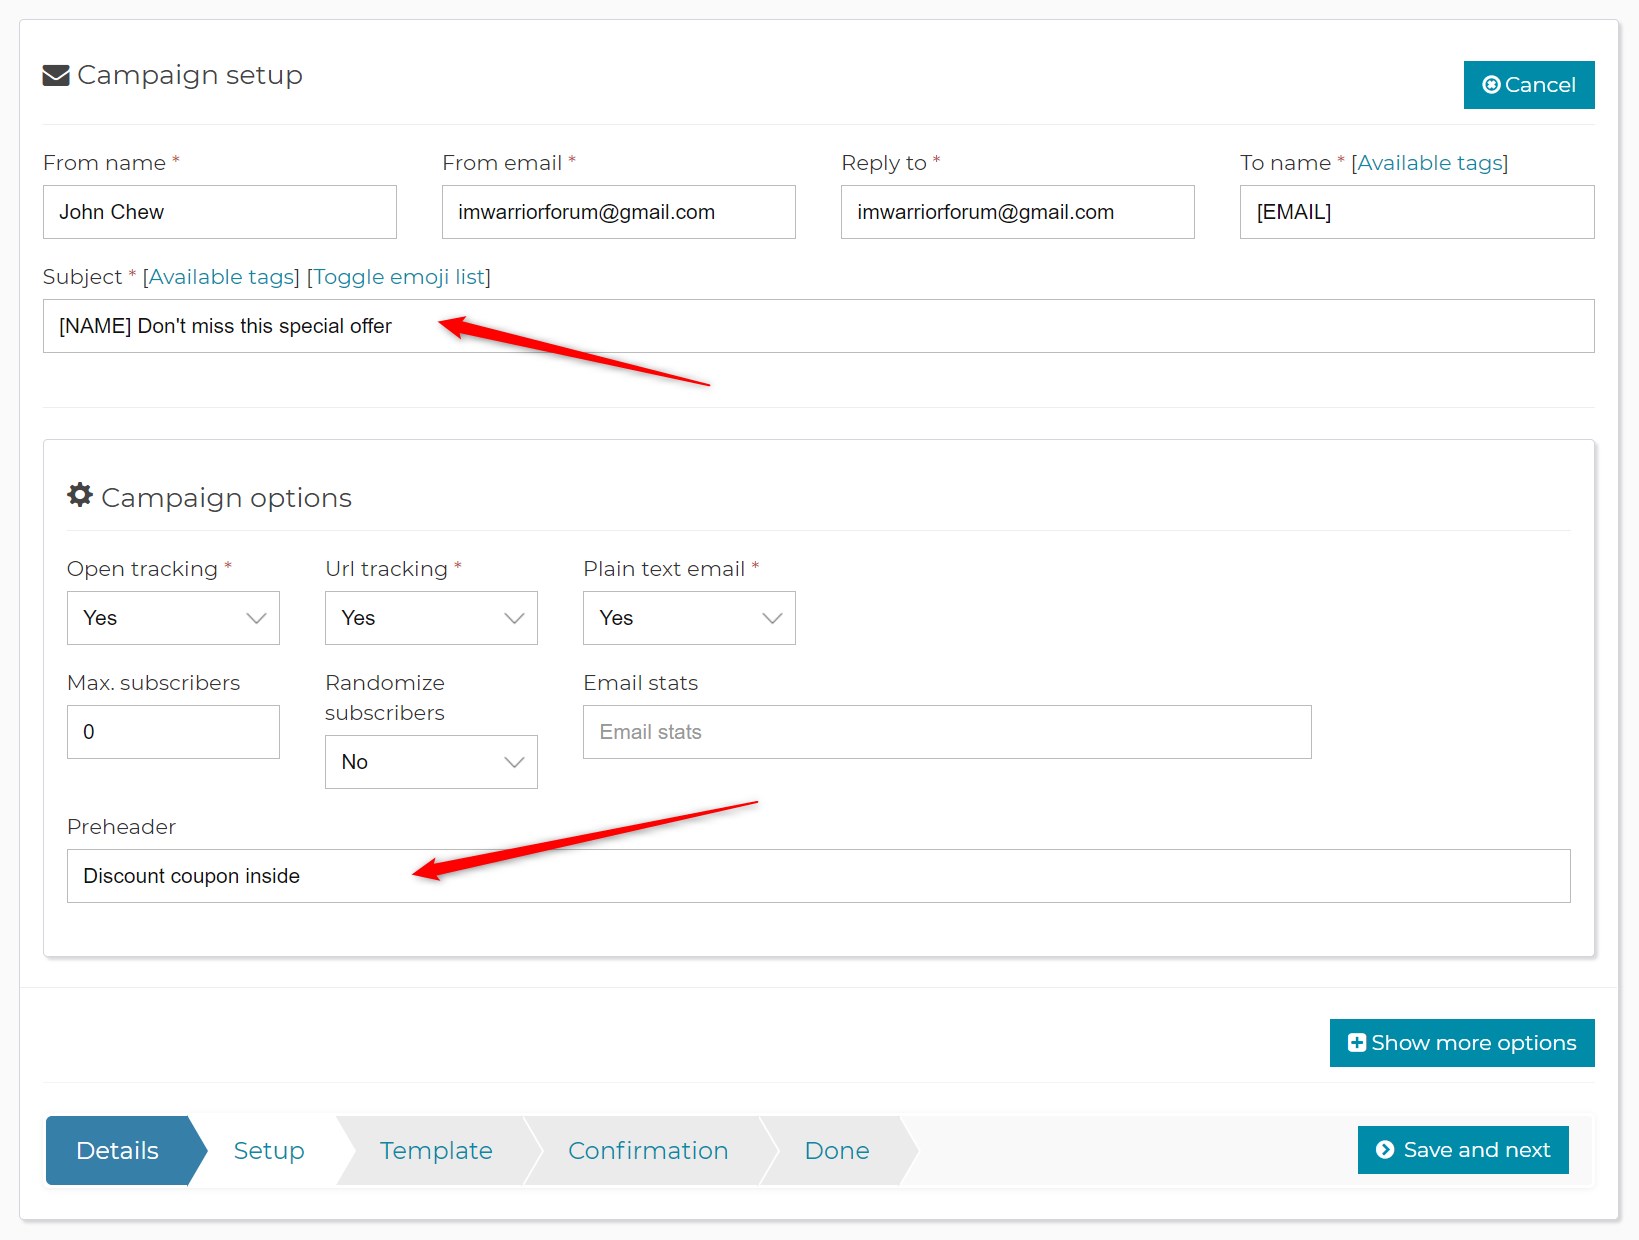
3. Enter the Subject for your emails. You can add a email preheader give your audience a teaser of what’s inside your email.
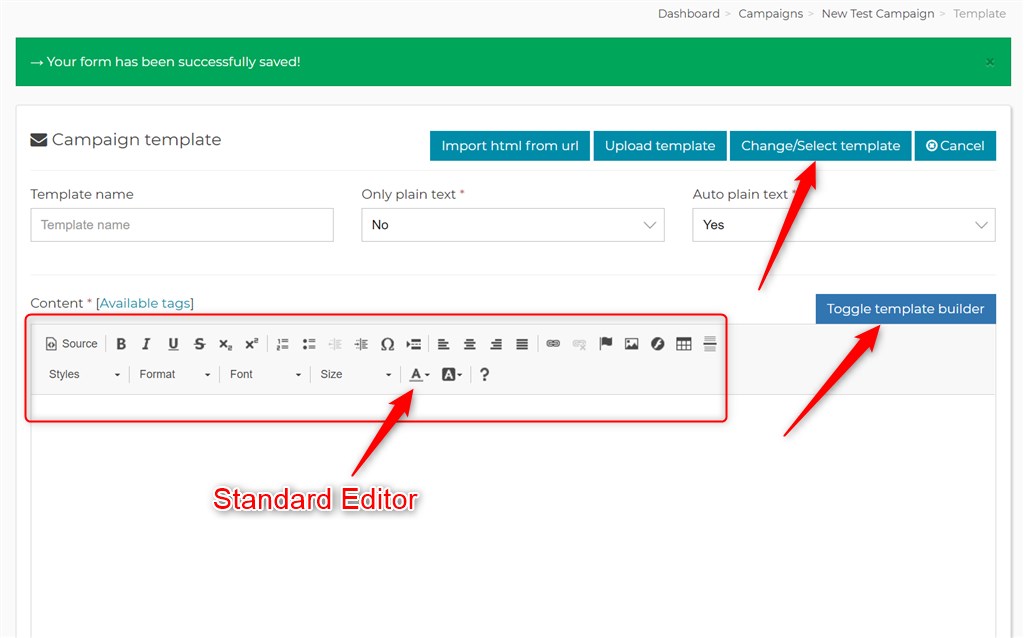
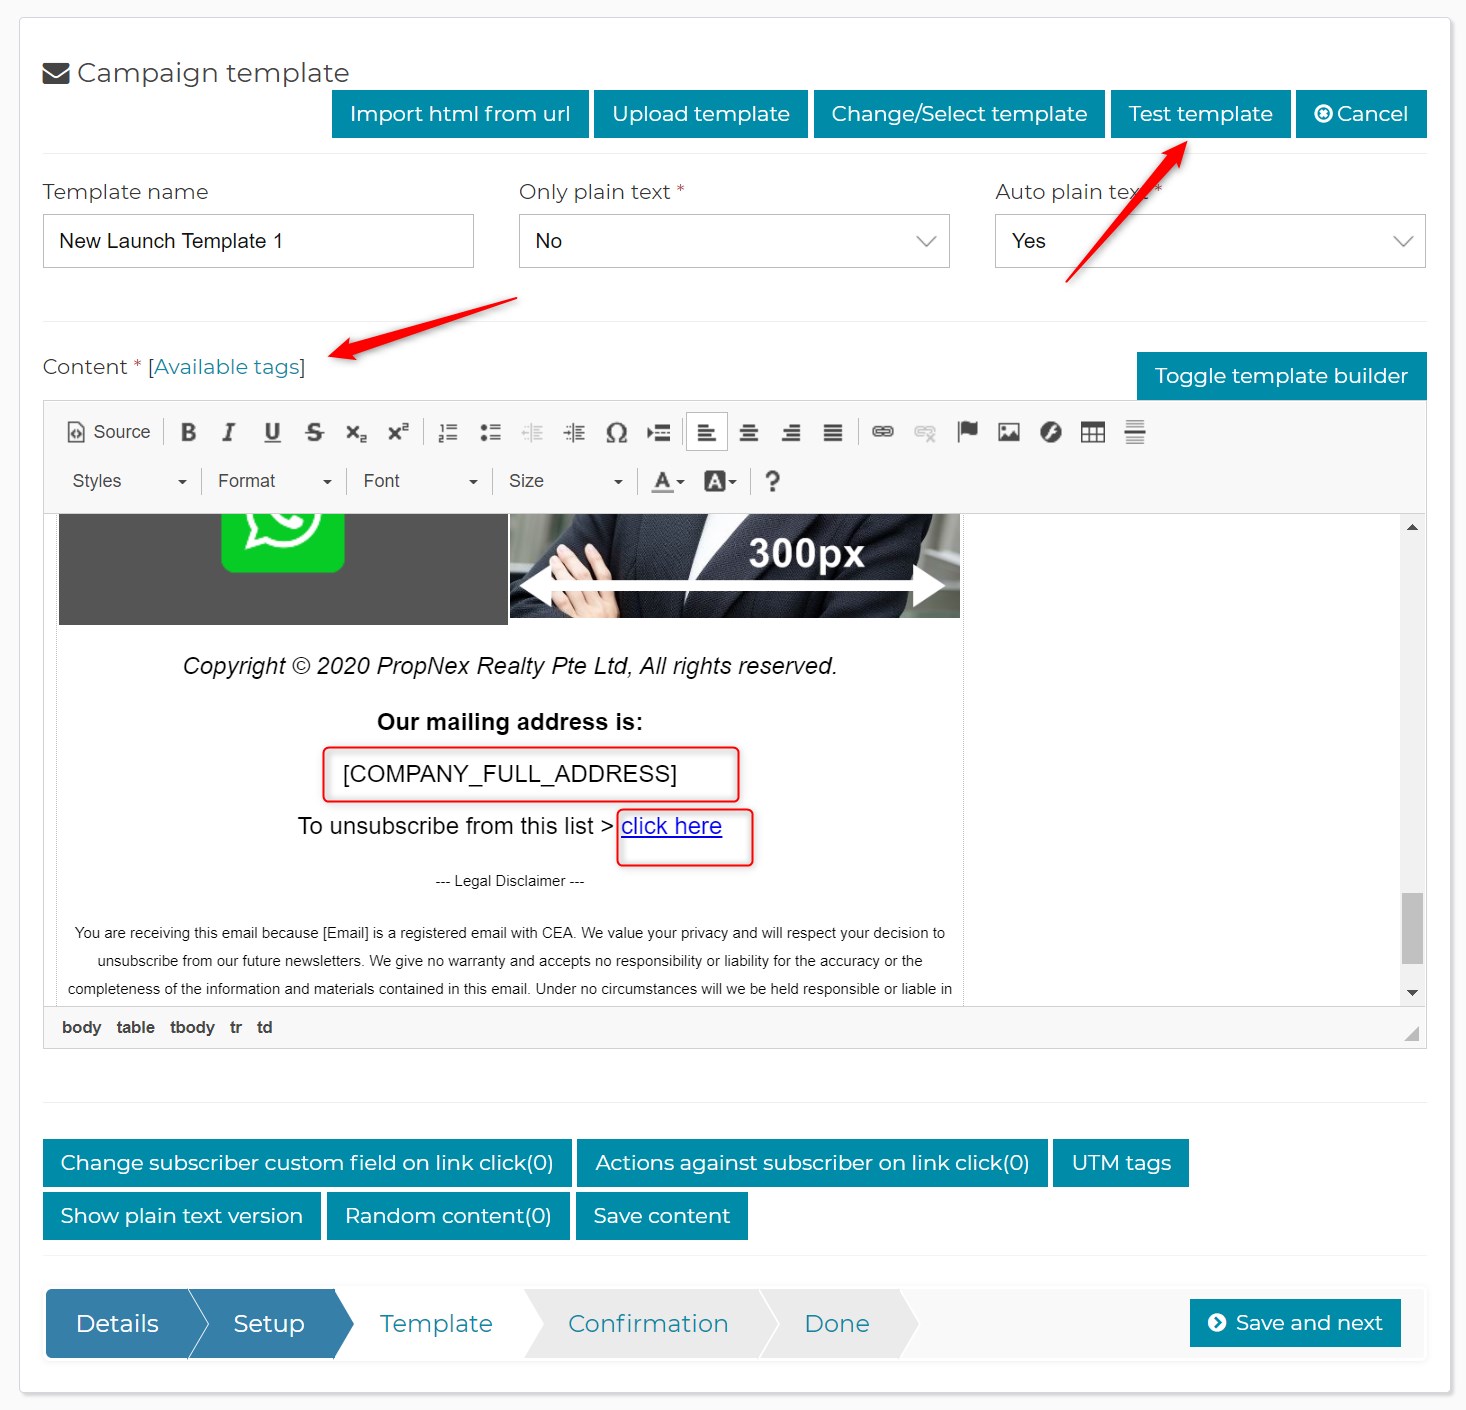
4. In the Campaign template screen, you have several options to consider. You can either choose a previously save template or start a new one. Additionally, you can toggle to the drag and drop template builder.
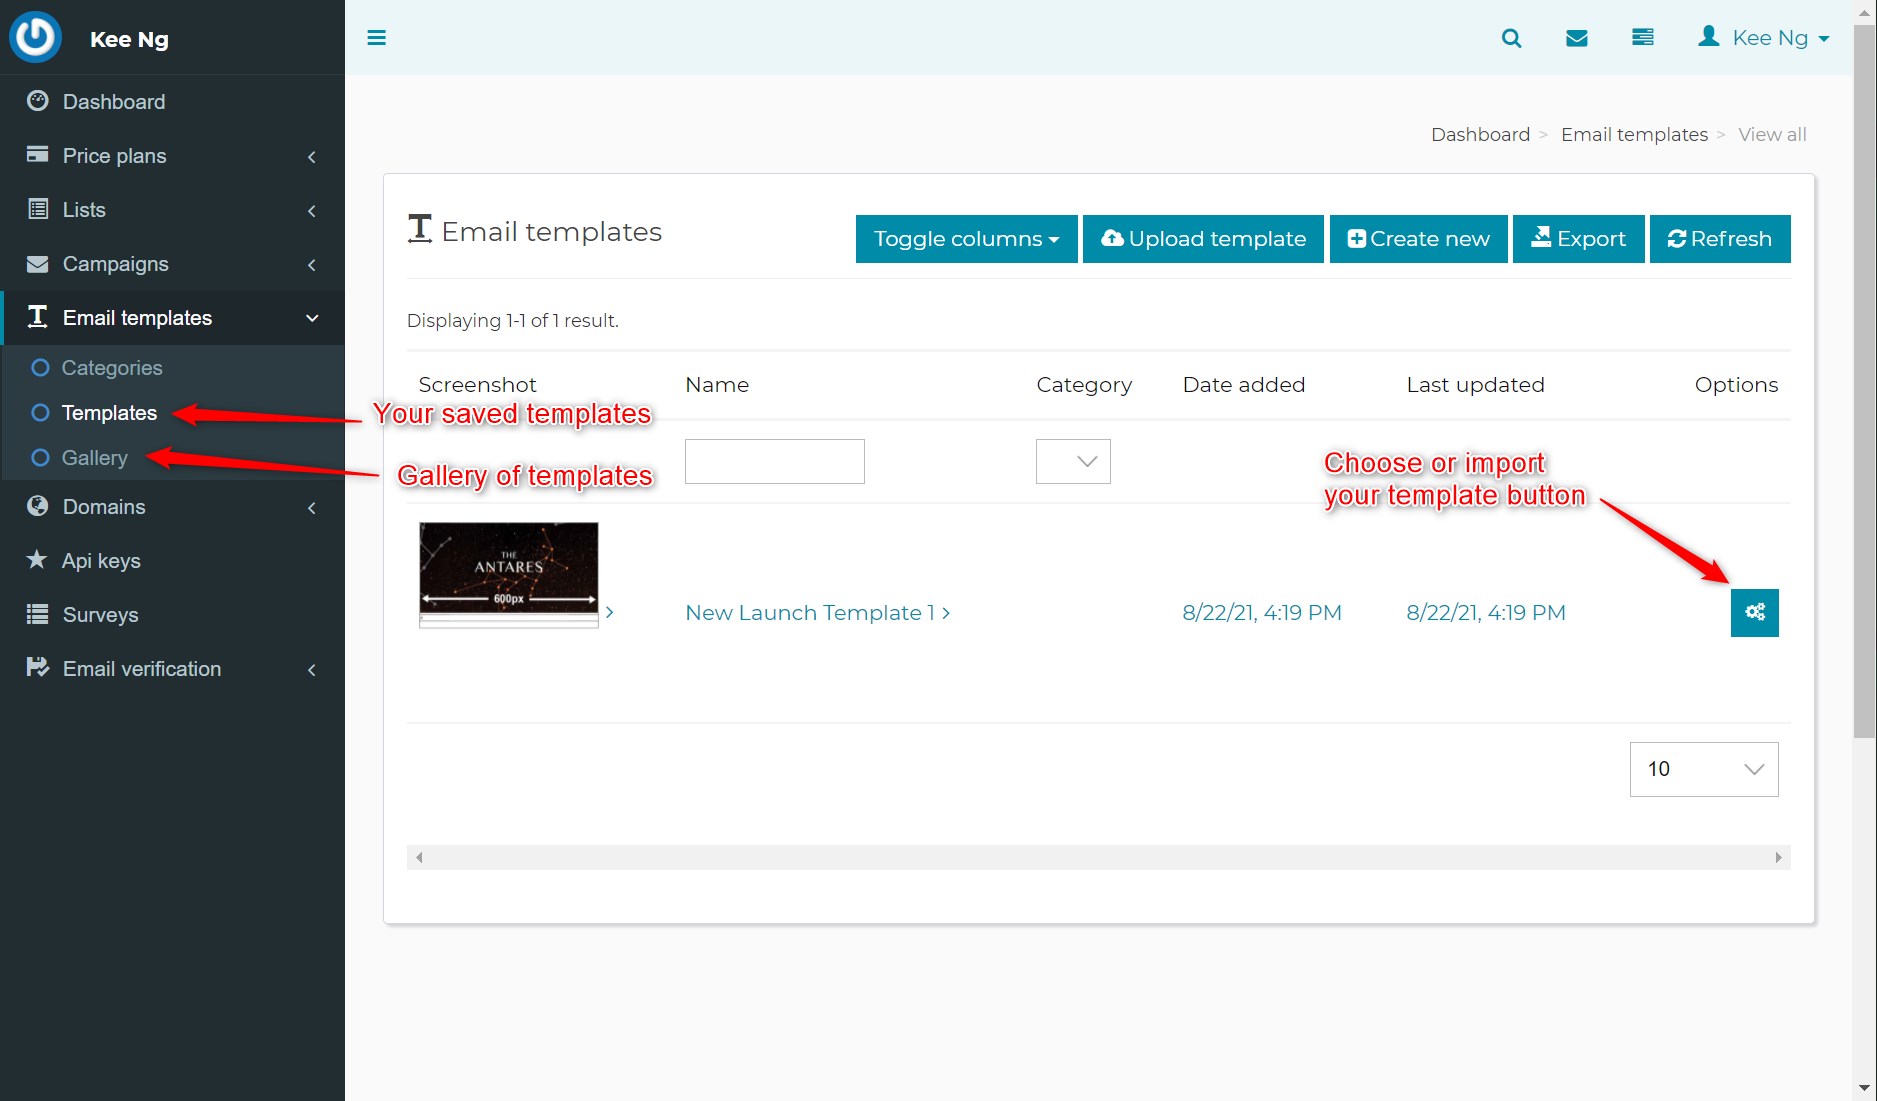
5. All your saved templates can be found in the Templates page.
To save time you can also import a starting template from the Template Gallery. You can easily customize the content for your email campaigns.
6. Two required tags you need in every email is [COMPANY_FULL_ADDRESS] and [UNSUBSCRIBE_URL]. The first tag will automatically input your company address into the email before sending.
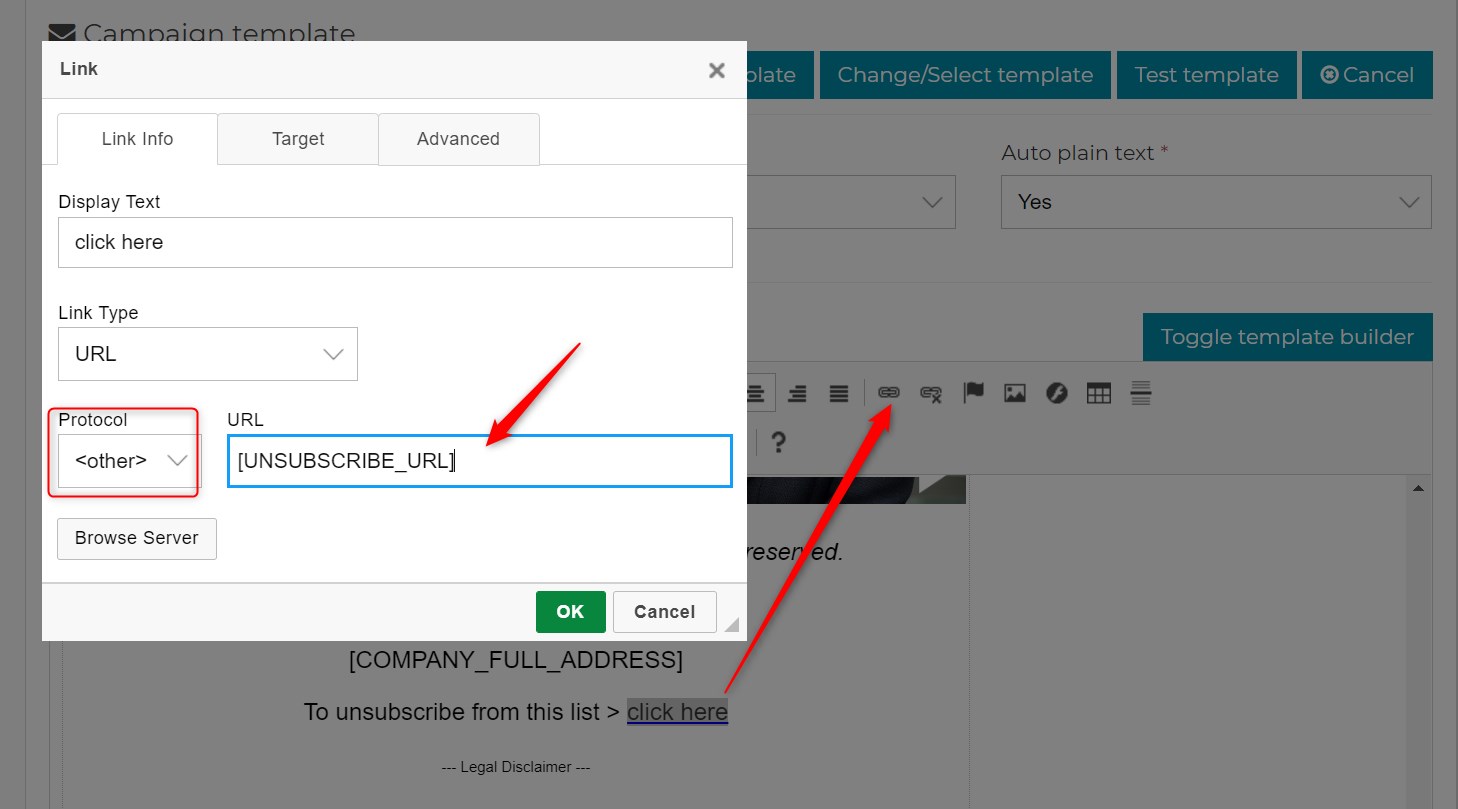
To place the unsubscribe link as a hyperlink behind some text, highlight the text, click the link icon and paste the [UNSUBSCRIBE_URL] as shown below. Make sure the Protocol is <others>.
Once you are done designing your email template, it’s highly recommended that you send a test mail to yourself. This will save you a lot of heartache and subscriber complaints if you have to resend the email due to typo errors or wrong information. To send a test mail, click the Test template button as shown above. Fill in your email address and click send. Once you are satisfied with the test email, click Save and next to continue to the final part.
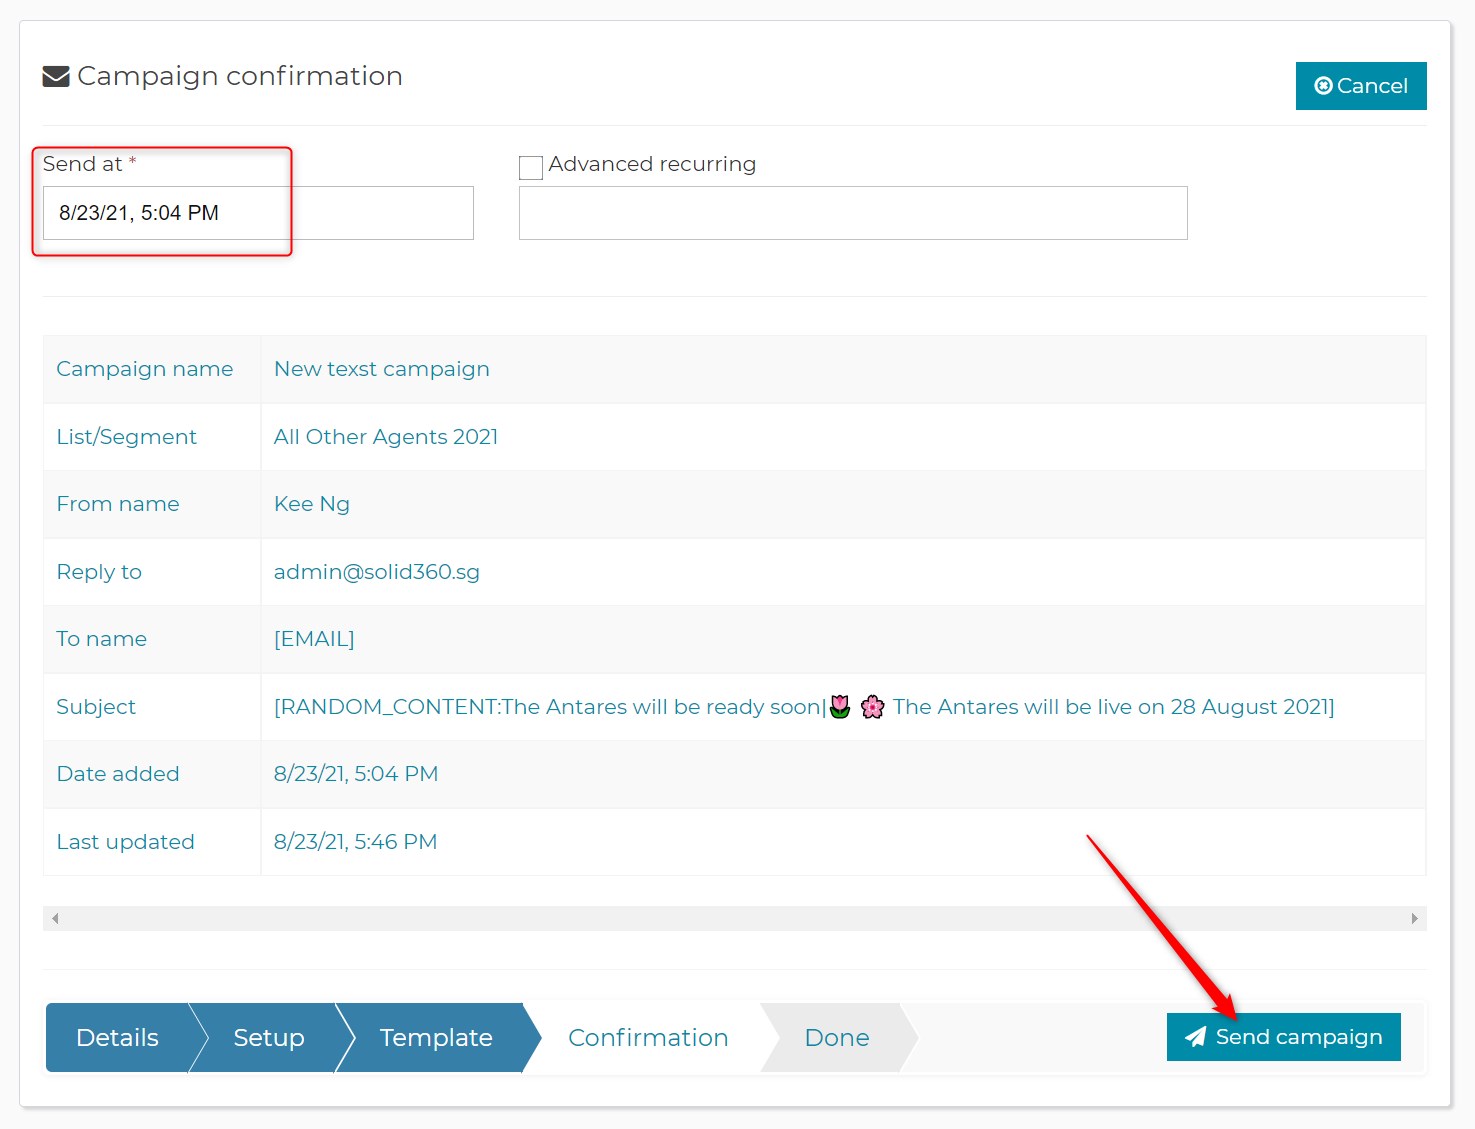
7. In the final Campaign confirmation screen, you can select the date and time to send your email campaign. Click the Send at date and select the appropriate sending timing.
8. Finally, click Send campaign!